15 years one-stop China custom CNC machining parts factory

Hey there I’m VMT Sam!
With 25 years of CNC machining experience we are committed to helping clients overcome 10000 complex part-processing challenges all to contribute to a better life through intelligent manufacturing. Contact us now
 197 |
Published by VMT at Nov 15 2021
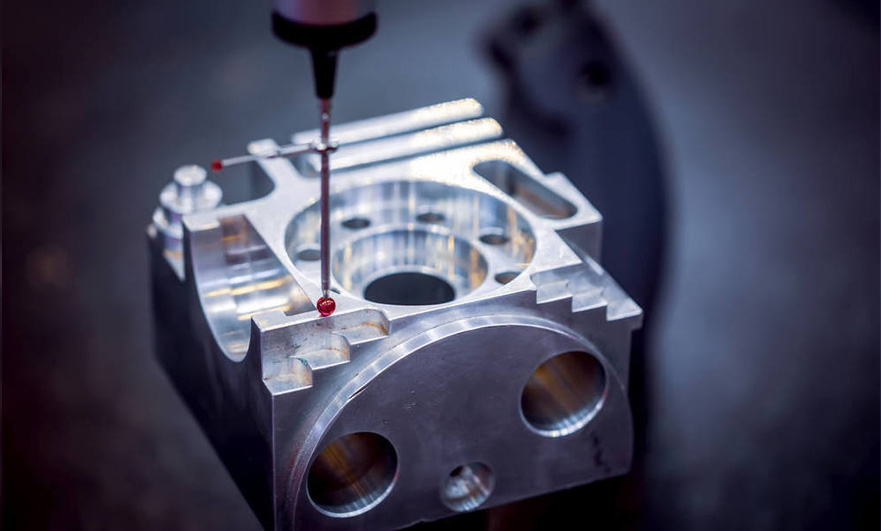
In the CNC machining and manufacturing industry, in order to ensure the quality of CNC machining parts, the surface roughness of CNC machining parts has a numerical limit. The surface roughness of CNC machining is very important for most of the surfaces involved in sliding, but how can we measure the surface roughness of CNC machining parts? Let's explore with VMT below!
How is the surface roughness of CNC machined parts produced?
The surface roughness of general CNC machined parts is formed by materials, CNC machining methods or other factors, such as the friction between the tool and the surface of the CNC machined parts during the CNC machining process, the plastic deformation of the surface layer metal when the chips are separated, and the process system The high-frequency vibration and so on. Due to the difference between the CNC machining method and the materials of the CNC machining parts, the depth, density, shape and texture of the traces left on the processed surface are different.

Method for detecting surface roughness of CNC machined parts
Comparison method: The method of comparing the surface of the measured CNC machined part with the roughness model marked with a certain value to determine the value of the measured surface roughness. The methods that can be used for comparison: use visual inspection when Ra>1.6μm, use a magnifying glass when Ra1.6~Ra0.4μm, use a comparison microscope when Ra<0.4μm
Light section method: use the principle of light section to measure with a double-tube microscope. It is often used to measure Rz from 0.5 to 60um.
The needle tracing method uses a diamond stylus with a tip curvature radius of about 2 microns to slowly slide along the measured surface, and uses the diamond stylus to lightly scratch the measured surface to measure the surface roughness Ra value. It is suitable for measuring the surface roughness with Ra of 0.025~6.3 microns.
Interferometry: Use the principle of light wave interference and measure with an interference microscope. Can measure Rz and Ry values. It is suitable for measuring the surface roughness of CNC machined parts with Rz and Ry between 0.025 and 0.8 microns.
Summarize
Obtaining accurate surface roughness of CNC machined parts is a challenging and expensive CNC machining process. The surface finish degree of CNC machined parts originates from the surface hardening degree of the material. In combination with the surface roughness standard, it is also necessary to consider whether it conforms to the nature of the material of the CNC machined parts.
A rigorous professional team of CNC machining parts at VMT understands the finish standards of surface roughness and the use of correct inspection methods. VMT provides you with high-quality CNC machining parts services, and prepares the best plan for you to bring you high-quality and exquisite CNC machining parts products. VMT looks forward to the start of your next project.
Ready To Start Your Next Project?
Get Instant Quote

Request a Free Quote
Send us a message if you have any questions or request a quote. We will get back to you ASAP!