15 years one-stop China custom CNC machining parts factory

Hey there I’m VMT Sam!
With 25 years of CNC machining experience we are committed to helping clients overcome 10000 complex part-processing challenges all to contribute to a better life through intelligent manufacturing. Contact us now
 397 |
Published by VMT at Aug 24 2021
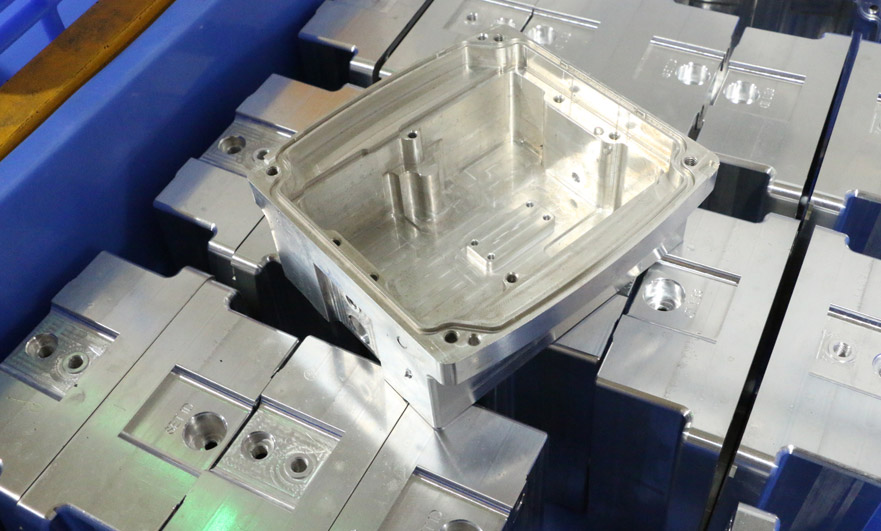
After CNC machining, the surface of the part looks very smooth, but it is not flat after magnification. In daily life, it is often heard that many people are used to using the "surface finish" indicator. In fact, what we call "surface finish" is based on human vision, while "surface roughness" is based on actual surface microscopic geometry.
Because it complies with international standards (ISO), the term "surface finish" is no longer used in national standards, and the term "surface roughness" is used in formal and strict expressions.
What is surface roughness?
The distance between CNC machining surfaces is small, and the unevenness of peaks and valleys is small. The distance between its two crests or two troughs (wave distance) is very small (below 1mm), which is a kind of microscopic geometric shape error.
Surface roughness formation factors
The surface roughness is formed by the machining method used and other factors, such as the friction between the tool and the surface of the CNC machined part during the machining process, the plastic deformation of the surface metal when the chips are separated, and the high-frequency vibration. Vibration in the processing system, pits in electrical processing, etc.
Due to the difference in processing methods and materials of CNC machined parts, the depth, density, shape and texture of the traces left on the surface of CNC machined parts are also different.

What is the basis of surface roughness?
1. Sampling length: the unit length of each parameter. Sampling length is the length of a reference line for evaluating surface roughness, generally 0.08mm, 0.25mm, 0.8mm, 2.5mm, 8mm as the reference length according to ISO1997 standard.
2. Evaluation length: consists of N reference lengths. The surface roughness of CNC machined parts cannot truly reflect the actual roughness parameters on the reference length, but N sampling lengths are needed to judge the surface roughness. Under the ISO1997 standard, the evaluation length is generally N equal to 5.
3. Reference line: The reference line is the contour center line used to judge the surface roughness parameters.
Surface roughness evaluation parameters
1. Height characteristic parameter: Ra. The arithmetic mean deviation of contour: the arithmetic mean of the absolute value of the contour deviation within the sampling length (lr). In actual measurement, the more measurement points, the more accurate Ra is.
2. Spacing feature parameter: the average width of Rsm contour elements. Within the sampling length, the average value of the microscopic unevenness of the contour. The microscopic unevenness distance refers to the length between the contour peak and the adjacent contour valley on the center line.
Surface roughness reference table
| Standard Grade Code | Surface Roughness | CNC machining tools (methods) | |||||
| Coarse Frosted Particle Size | Fine Matte Particle Size | Diamond Paste Polishing | CNC Machining Materials and Hardness Requirements | Photometric Description | |||
| SPI(A1) | Ra0.005 | S136 | 54HRC | High finish, mirror effect | |||
| SPI(A2) | Ra0.01 | 8407 | 52HRC | Low finish, no sandpaper texture | |||
| SPI(A3) | Ra0.02 | DF-2 | 58HRC | Low finish, but no sandpaper texture | |||
| SPI(B1) | Ra0.05 | XW-10 | 60HRC | No brightness, slight 3000# sandpaper pattern | |||
| SPI(B2) | Ra0.1 | S136 | 300HB | No brightness, slight 2000# sandpaper texture | |||
| SPI(B3) | Ra0.2 | 718SUPREME | 300HB | No brightness, slight texture of 1000# sandpaper | |||
| Ra0.4 | Finishing: fine turning/finishing planing/finishing milling/grinding/reaming/scraping | Does not distinguish the direction of processing traces | |||||
| Ra0.8 | Finishing: fine turning/finishing planing/finishing milling/grinding/reaming/scraping | Can discern the direction of processing traces | |||||
| Ra1.6 | |||||||
| Ra3.2 | |||||||
| Ra6.3 | |||||||
| Ra12.5 | |||||||
| Ra25 | |||||||
Summary
Surface roughness is the old standard for surface roughness. The evaluation of surface roughness should not be based on the visual angle, but should be based on the number of Ra. Today’s sharing is over, I hope this article will give you a deeper understanding of your surface roughness.
VMT is your partner for CNC machining. We combine our experience and expertise to bring your parts from production to market in a short period of time. Our real-time quotation system uses the latest technology to provide you with a quotation within a few seconds.
Ready To Start Your Next Project?
Get Instant Quote

Request a Free Quote
Send us a message if you have any questions or request a quote. We will get back to you ASAP!