16 years one-stop China custom CNC machining parts factory

Hey there I’m VMT Sam!
With 25 years of CNC machining experience we are committed to helping clients overcome 10000 complex part-processing challenges all to contribute to a better life through intelligent manufacturing. Contact us now
 479 |
Published by VMT at Aug 31 2026 | Reading Time:About 5 minutes
479 |
Published by VMT at Aug 31 2026 | Reading Time:About 5 minutes


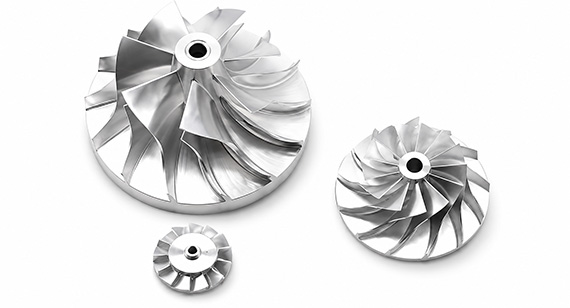
When it comes to turning innovative ideas into physical products, prototype development is crucial. It ensures the optimization of design, functionality, appearance, and cost before the actual product moves into mass production. This is a multi-phase journey: Product Concept → 2D Sketch Design → 3D Modeling (with preliminary confirmation of dimensions, materials, appearance, and function) → Process Selection for Prototype Manufacturing → Initial Testing and Feedback → Design and Detail Optimization (iterating until satisfied) → Finalization of Mass Production Manufacturing Processes.
During prototype fabrication, you may face numerous challenges—such as choosing the right software and file formats, knowing how to conduct testing and feedback, determining what specific metrics to test for your product, and leveraging external manufacturing teams to optimize designs for reduced costs and shorter lead times. This guide will walk you through the essential process and key considerations for successful prototype development, offering actionable advice to help you optimize methodology, cost, and lead times. Finally, we will share a case study showing how our factory assisted a client with prototype development, cost optimization, and smooth transition to mass production for drone gimbal parts.
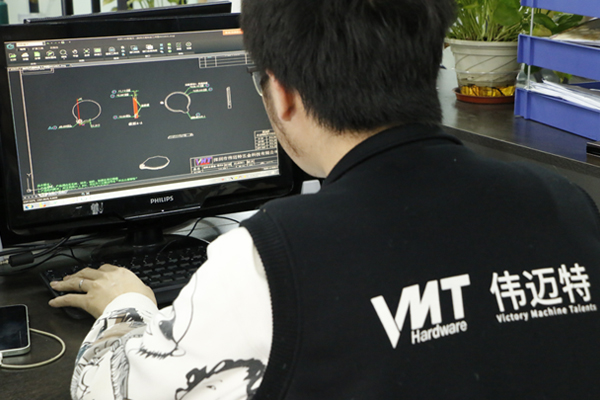
Once you capture your initial product concept through 2D sketches or hand drafts, the next step is converting it into a precise 3D CAD model. A 3D model allows you to visualize the part, input critical dimensions and surface geometries, dynamically adjust design specs, and collaborate conveniently with internal team members and manufacturing partners. And this is where CAD plays an important role in the prototyping, and enables your team to design 3D models smoothly.
Below are the primary CAD tools available on the market, along with their key features, free or not, supported file formats:
| Software | Free or not (if not, how's the price?) | Supported Export Formats | Key Features |
|---|---|---|---|
| SolidWorks | Not Free — High Price (Subscription / Perpetual) | Native (.sldprt, .sldasm), STEP, IGES, DXF, DWG, STL, OBJ, Parasolid | • Industry standard for mechanical engineering and parametric design • Powerful stress/FEA simulation and seamless DFM setup • High resource usage; steep curve for complex organic surfacing |
| Autodesk Fusion 360 | Not Free (Free tier for non-commercial/hobbyists) — Low / Moderate Price | STEP, IGES, DXF, DWG, STL, OBJ, 3MF, F3D, SAT | • All-in-one CAD, CAM, and simulation environment • Cloud-based real-time team collaboration • Requires internet access; struggles with ultra-large assemblies |
| Rhino 3D (Rhinoceros) | Not Free — Low / Moderate Price (One-time purchase, no subscription) | Native (.3dm), STEP, IGES, DXF, DWG, STL, OBJ, FBX | • Unmatched surface modeling (NURBS) flexibility • Powerful Grasshopper parametric plugin • Limited built-in mechanical engineering and FEA simulation |
| PTC Creo (Pro/E) | Not Free — High Price (Tiered Enterprise Subscription) | Native (.prt, .asm), STEP, IGES, DXF, DWG, STL, Parasolid | • Extremely robust parametric modeling for massive assemblies • Advanced structural analysis and high manufacturing precision • Complex user interface requiring dedicated training |
| Onshape | Not Free (Free public plan available) — Low / Moderate Price | STEP, IGES, DXF, DWG, STL, Parasolid, OBJ, PDF | • 100% web-browser based; runs on PC, Mac, and tablets • Built-in revision management (Git-like version control) • Free tier forces all design files to be publicly accessible |
| FreeCAD | Free (Open Source) | STEP, IGES, DXF, DWG, STL, OBJ, FCStd | • 100% free, open-source, and cross-platform • Modular architecture with strong parametric basics • Less polished UI; occasional topological naming bugs |
After confirming the preliminary dimensions, geometric shapes, surface parameters, appearance, and materials in your 3D design drawings, you should select the appropriate prototype manufacturing process.
It is worth noting that the manufacturing process and material used in the prototype stage are not always identical to those used in mass production. For instance, if you need to mass-produce an aluminum enclosure at a large scale, casting would likely be the most cost-effective process (assuming no ultra-tight tolerances are required). However, in the prototype stage, casting is rarely used due to high tooling costs. Instead, processes like 3D printing or CNC machining are preferred, and materials with similar physical properties may be substituted to accommodate these process changes.
Below is a breakdown of common prototype manufacturing processes, detailing their pros and cons, typical lead times, flexibility, relative costs, and intended testing purposes (functional, aesthetic, stress, or mechanical testing).
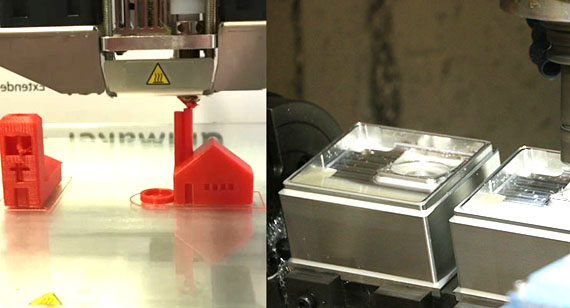
Generally speaking, CNC machining and 3D printing are the most common prototyping options. CNC prototypes offers an irreplaceable advantage for functional uses: while 3D printing fuses powdered or melted materials layer by layer, CNC machining selectively cuts away material without altering the substrate's intrinsic physical properties. As a result, 3D-printed metal parts cannot fully match the mechanical performance and structural integrity of solid CNC-machined parts.
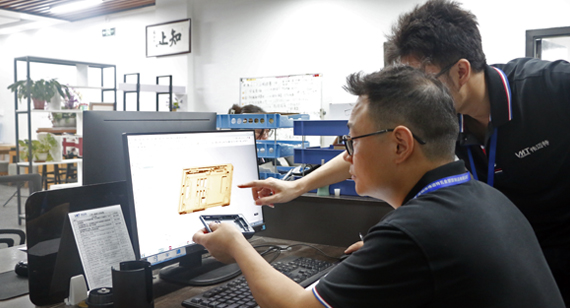
When selecting CNC machining for prototyping, involving your manufacturing partner early allows specialized DFM (Design for Manufacturability) engineers to optimize the design across several critical areas :
So, what comes next after your first-generation prototype product is manufactured?
Naturally, it’s time to conduct thorough testing to evaluate whether the part meets your product requirements and brand positioning. Based on specific developing purpose, you can run targeted tests to identify areas for improvement:
After conducting the necessary tests based on your requirements, gather the feedback to iterate and refine your prototype design. Produce an updated batch, re-test, and repeat this cycle until you achieve a finalized prototype that fully satisfies your functional, aesthetic, and commercial goals.
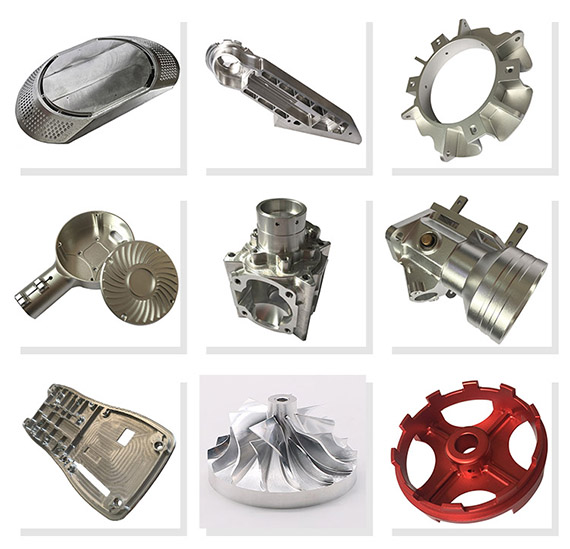
Having validated your design through multiple rounds of prototype testing, the focus naturally shifts to scaling up production while optimizing per-unit costs. Prototype manufacturing prioritizes speed, flexibility, and minimal upfront tooling, whereas low-volume and mass production focus on repeatability, unit cost reduction, and process efficiency. Here' s the common recommended solutions:
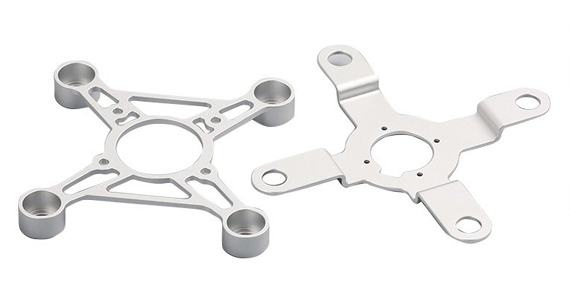
Prototyping Update and Manufacturing of High-Precision Drone Gimbal Parts
A drone technology company approached us to manufacture a high-precision camera gimbal arm based on their provided CAD drawings. The component required extreme lightweighting for longer flight times, precise tolerances to maintain camera balance, and high structural rigidity under dynamic flight conditions.
Upon reviewing the client's original 3D design, our engineering team identified that ultra-thin walls (0.4 mm) and deep internal pockets would cause severe tool chatter and mechanical deformation during CNC milling. If produced strictly as drawn, the scrap rate would be exceptionally high, leading to inflated per-unit costs and potential delivery delays.
DFM Review & Minor Design Adjustments
Our DFM engineers provided actionable optimization feedback and worked with the client to implement minor structural adjustments:
Prototyping & Testing
Using 5-axis CNC machining, we produced an initial prototype batch of 20 units for client testing within 4 days. The client assembled the parts, performed balancing and flight vibration tests, and confirmed that the revised rib structure solved video jitter.
Scaling to Production
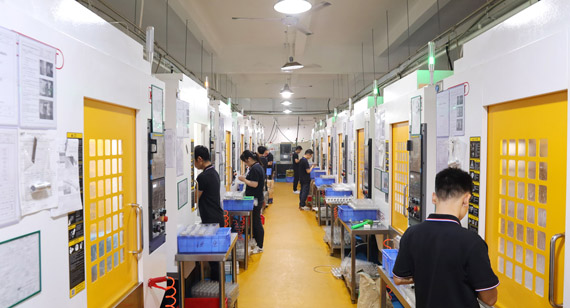
After prototype approval, we transitioned the part to customized dedicated fixtures on high-speed 3-axis CNC machining centers for volume production. This manufacturing partnership achieved clear results:
Product prototype development is an essential part of the product development cycle. By following a structured prototyping process, you can validate your ideas, test functionality, and refine designs before full-scale manufacturing. Whether you’re utilizing CNC machining services, 3D printing, or other rapid prototyping technologies, the insights gained during the prototyping phase are invaluable for ensuring that the final product meets both technical requirements and consumer expectations. With careful planning, adequate testing, and the right prototyping methods, you can bring your product to market more quickly and cost-effectively while reducing the risk of failure.
Upload your drawings and project requirements for a manufacturing review and quote.
All information and uploaded files are secure and confidential.
1 Tell us what you need
2 Get solution & quote
3 Approve production
Email: inquiry@vimetal.com.cn
What is a prototype in the product development process?
A prototype is a preliminary model or sample of a product, created to test and validate its design, functionality, and usability before committing to full-scale production. Prototypes are used to identify potential issues, gather user feedback, and refine the product design before mass manufacturing begins.
How long does the prototyping process take?
The prototyping process can vary in length depending on the complexity of the product and the prototyping method used. Rapid prototyping technologies such as 3D printing and CNC machining can produce prototypes in a matter of days or weeks, while more complex designs may require additional time for testing and refinement. Generally, the faster you can iterate through testing and adjustments, the quicker you can bring your product to market.
How much does it cost to prototype a part?
The cost of prototyping depends on several factors, including the complexity of the design, the materials used, and the prototyping method chosen. For example, CNC machining services might be more expensive for highly detailed, precision parts, while 3D printing could offer a more cost-effective solution for rapid iterations of simpler designs. On average, prototyping can cost anywhere from a few hundred to several thousand dollars, depending on the requirements of the project.
What is prototyping?
Prototyping is the process of creating a preliminary model or sample of a product to test its design, functionality, and feasibility. The goal is to validate concepts, identify potential issues, and refine the product before proceeding with full-scale production. Prototypes are essential for improving the product development process and ensuring that the final product meets user needs and expectations.
What is the difference between a cosmetic prototype and a real prototype?
A cosmetic prototype primarily focuses on the appearance of the product and is typically used for visual representation. It may not have all the functional components or durability features of the final product. In contrast, a real prototype (also known as a functional prototype) is a fully functional version of the product, designed to test its performance, usability, and technical aspects.
What is rapid prototyping?
Rapid prototyping refers to a set of techniques used to quickly create physical models of a product from digital designs. This process allows for fast iterations, quick testing, and faster feedback, making it an essential tool in product development. Technologies like 3D printing, CNC machining, and injection molding are commonly used in rapid prototyping.
What are the 5 stages of prototyping?
The five stages of prototyping are:
What is the prototyping process?
The prototyping process involves creating a physical or digital representation of a product to test and validate its design. The process includes several phases, such as conceptualization, design refinement, prototype construction, testing, and iteration. The aim is to create a functional model that can be tested, refined, and prepared for mass production.
What are the six types of prototype design?
The six common types of prototype design are:
Prototyping is a vital step in the product development process, enabling designers and engineers to validate concepts, refine designs, and prepare for mass production. Whether you are developing a new automotive part, a medical device, or a consumer product, understanding the nuances of prototyping and selecting the right methods can dramatically improve your product’s success. Rapid prototyping services like those offered by VMT help businesses create high-quality, functional prototypes faster and more cost-effectively, accelerating the development cycle and reducing risks. By leveraging advanced technologies such as CNC machining, 3D printing, and injection molding, companies can ensure that their prototypes meet all necessary specifications and are ready for the next phase of production. With careful planning, expert advice, and the right tools, you can bring your product to life and ensure its success in the marketplace.
The technical information and manufacturing advice shared on the VMT website are for general guidance only. While we strive for accuracy, VMT does not guarantee that the processes, tolerances, or material properties mentioned are applicable to every specific project. Any reliance you place on such information is strictly at your own risk. It is the buyer's responsibility to provide definitive engineering specifications for any production orders. Final specifications and service terms shall be subject to the formal contract or quotation confirmed by both parties.


 +86 15099911516




 Read more